Overview
Templates are the core configuration unit in SilkQuote. Each template defines the layout, branding, field mapping, and selection rules for a specific type of quote. You can have as many templates as needed: one per product line, deal size, region, or any other criteria relevant to your sales process.
Templates are created and managed in the SilkQuote Configuration Manager. No code is required; the entire setup is point-and-click.
Template Settings Explained
When creating a new template, you configure several key properties:
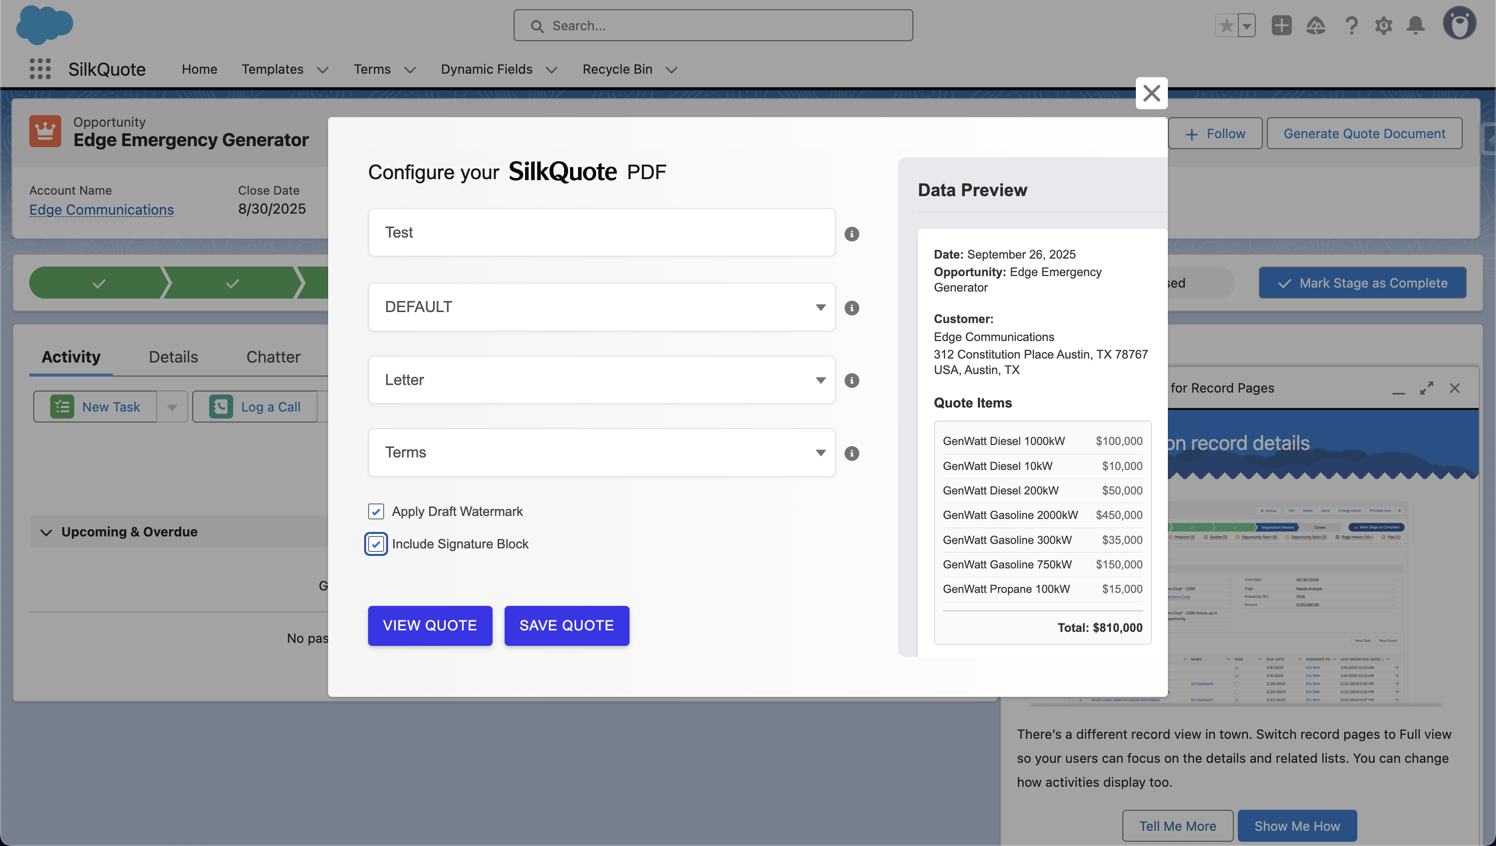
- Name: The label reps see in the template dropdown at quote generation time. Make it clear and descriptive (e.g., “Enterprise Proposal - US”, “SMB Quick Quote”).
- Accent Color: A hex color code applied to header bands and highlights in the generated PDF. Use your brand’s primary color.
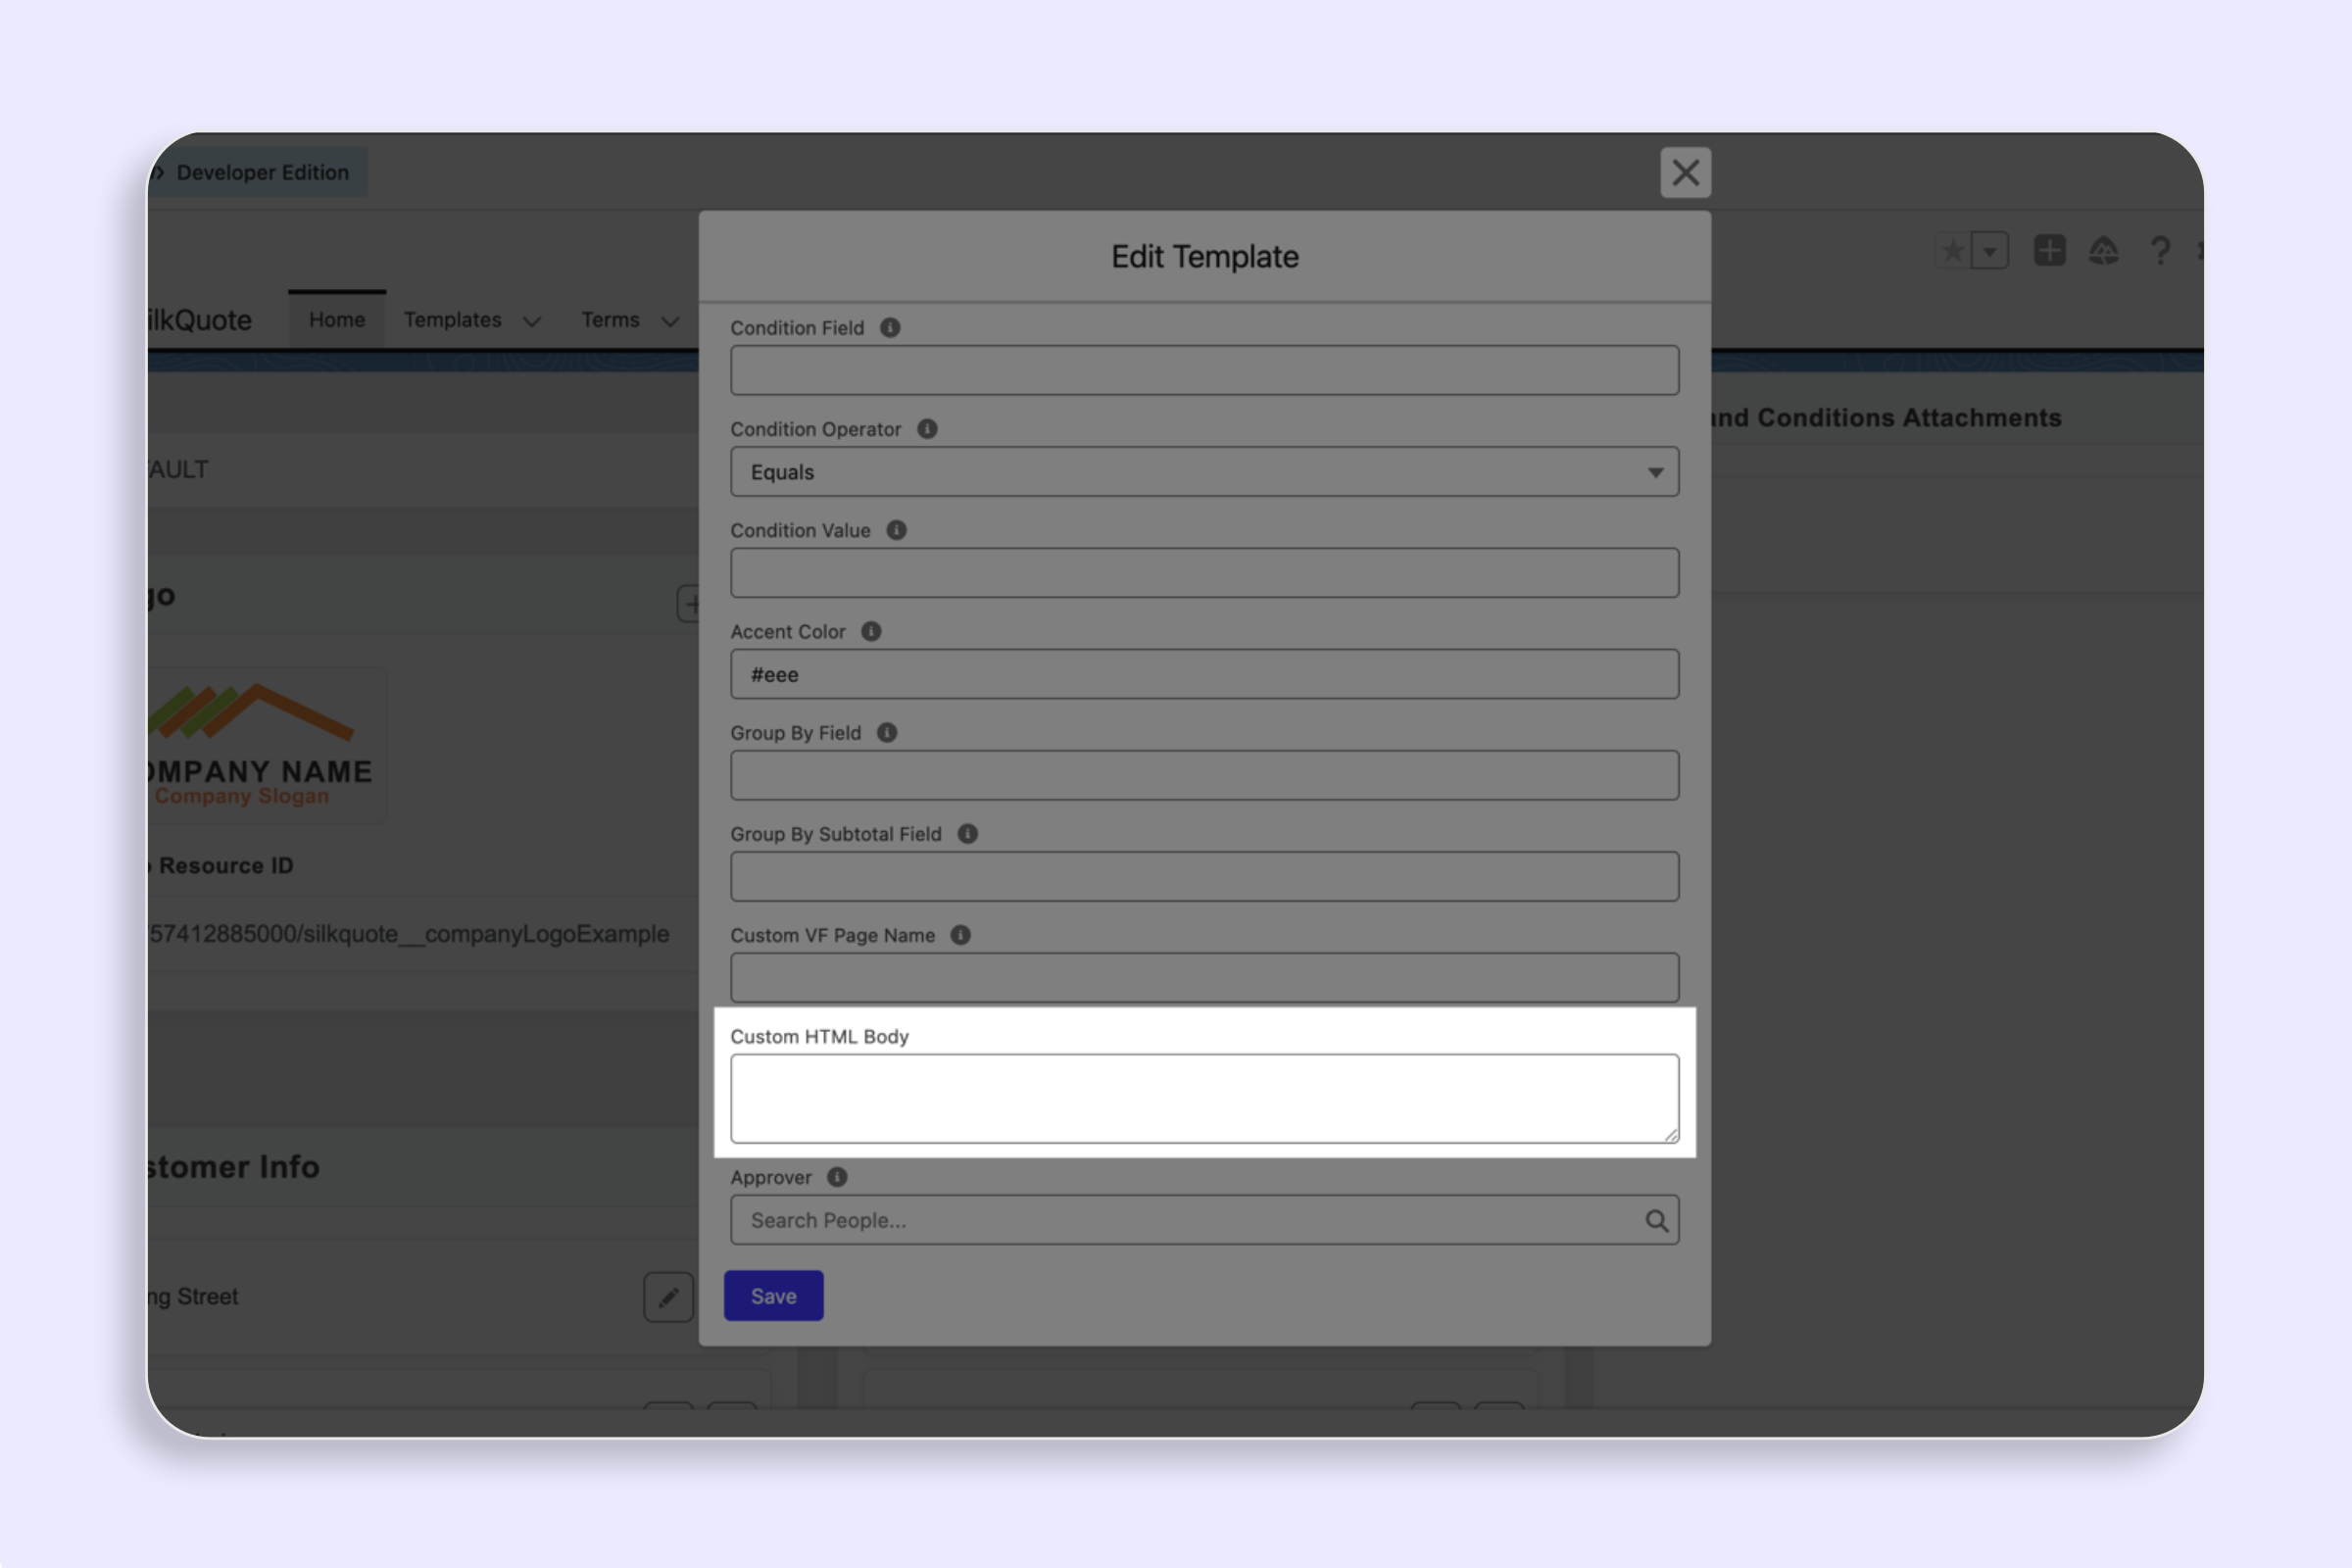
- Condition Field / Operator / Value: An optional Salesforce Opportunity field condition that controls when this template is auto-selected or made required. For example,
Type = Enterprisemakes this template automatically apply to enterprise deals. - Required: If checked, the template is preselected and cannot be changed by the rep when its condition is met.
- Precedence: A number that determines priority when multiple template conditions match the same Opportunity. Lower numbers take priority.
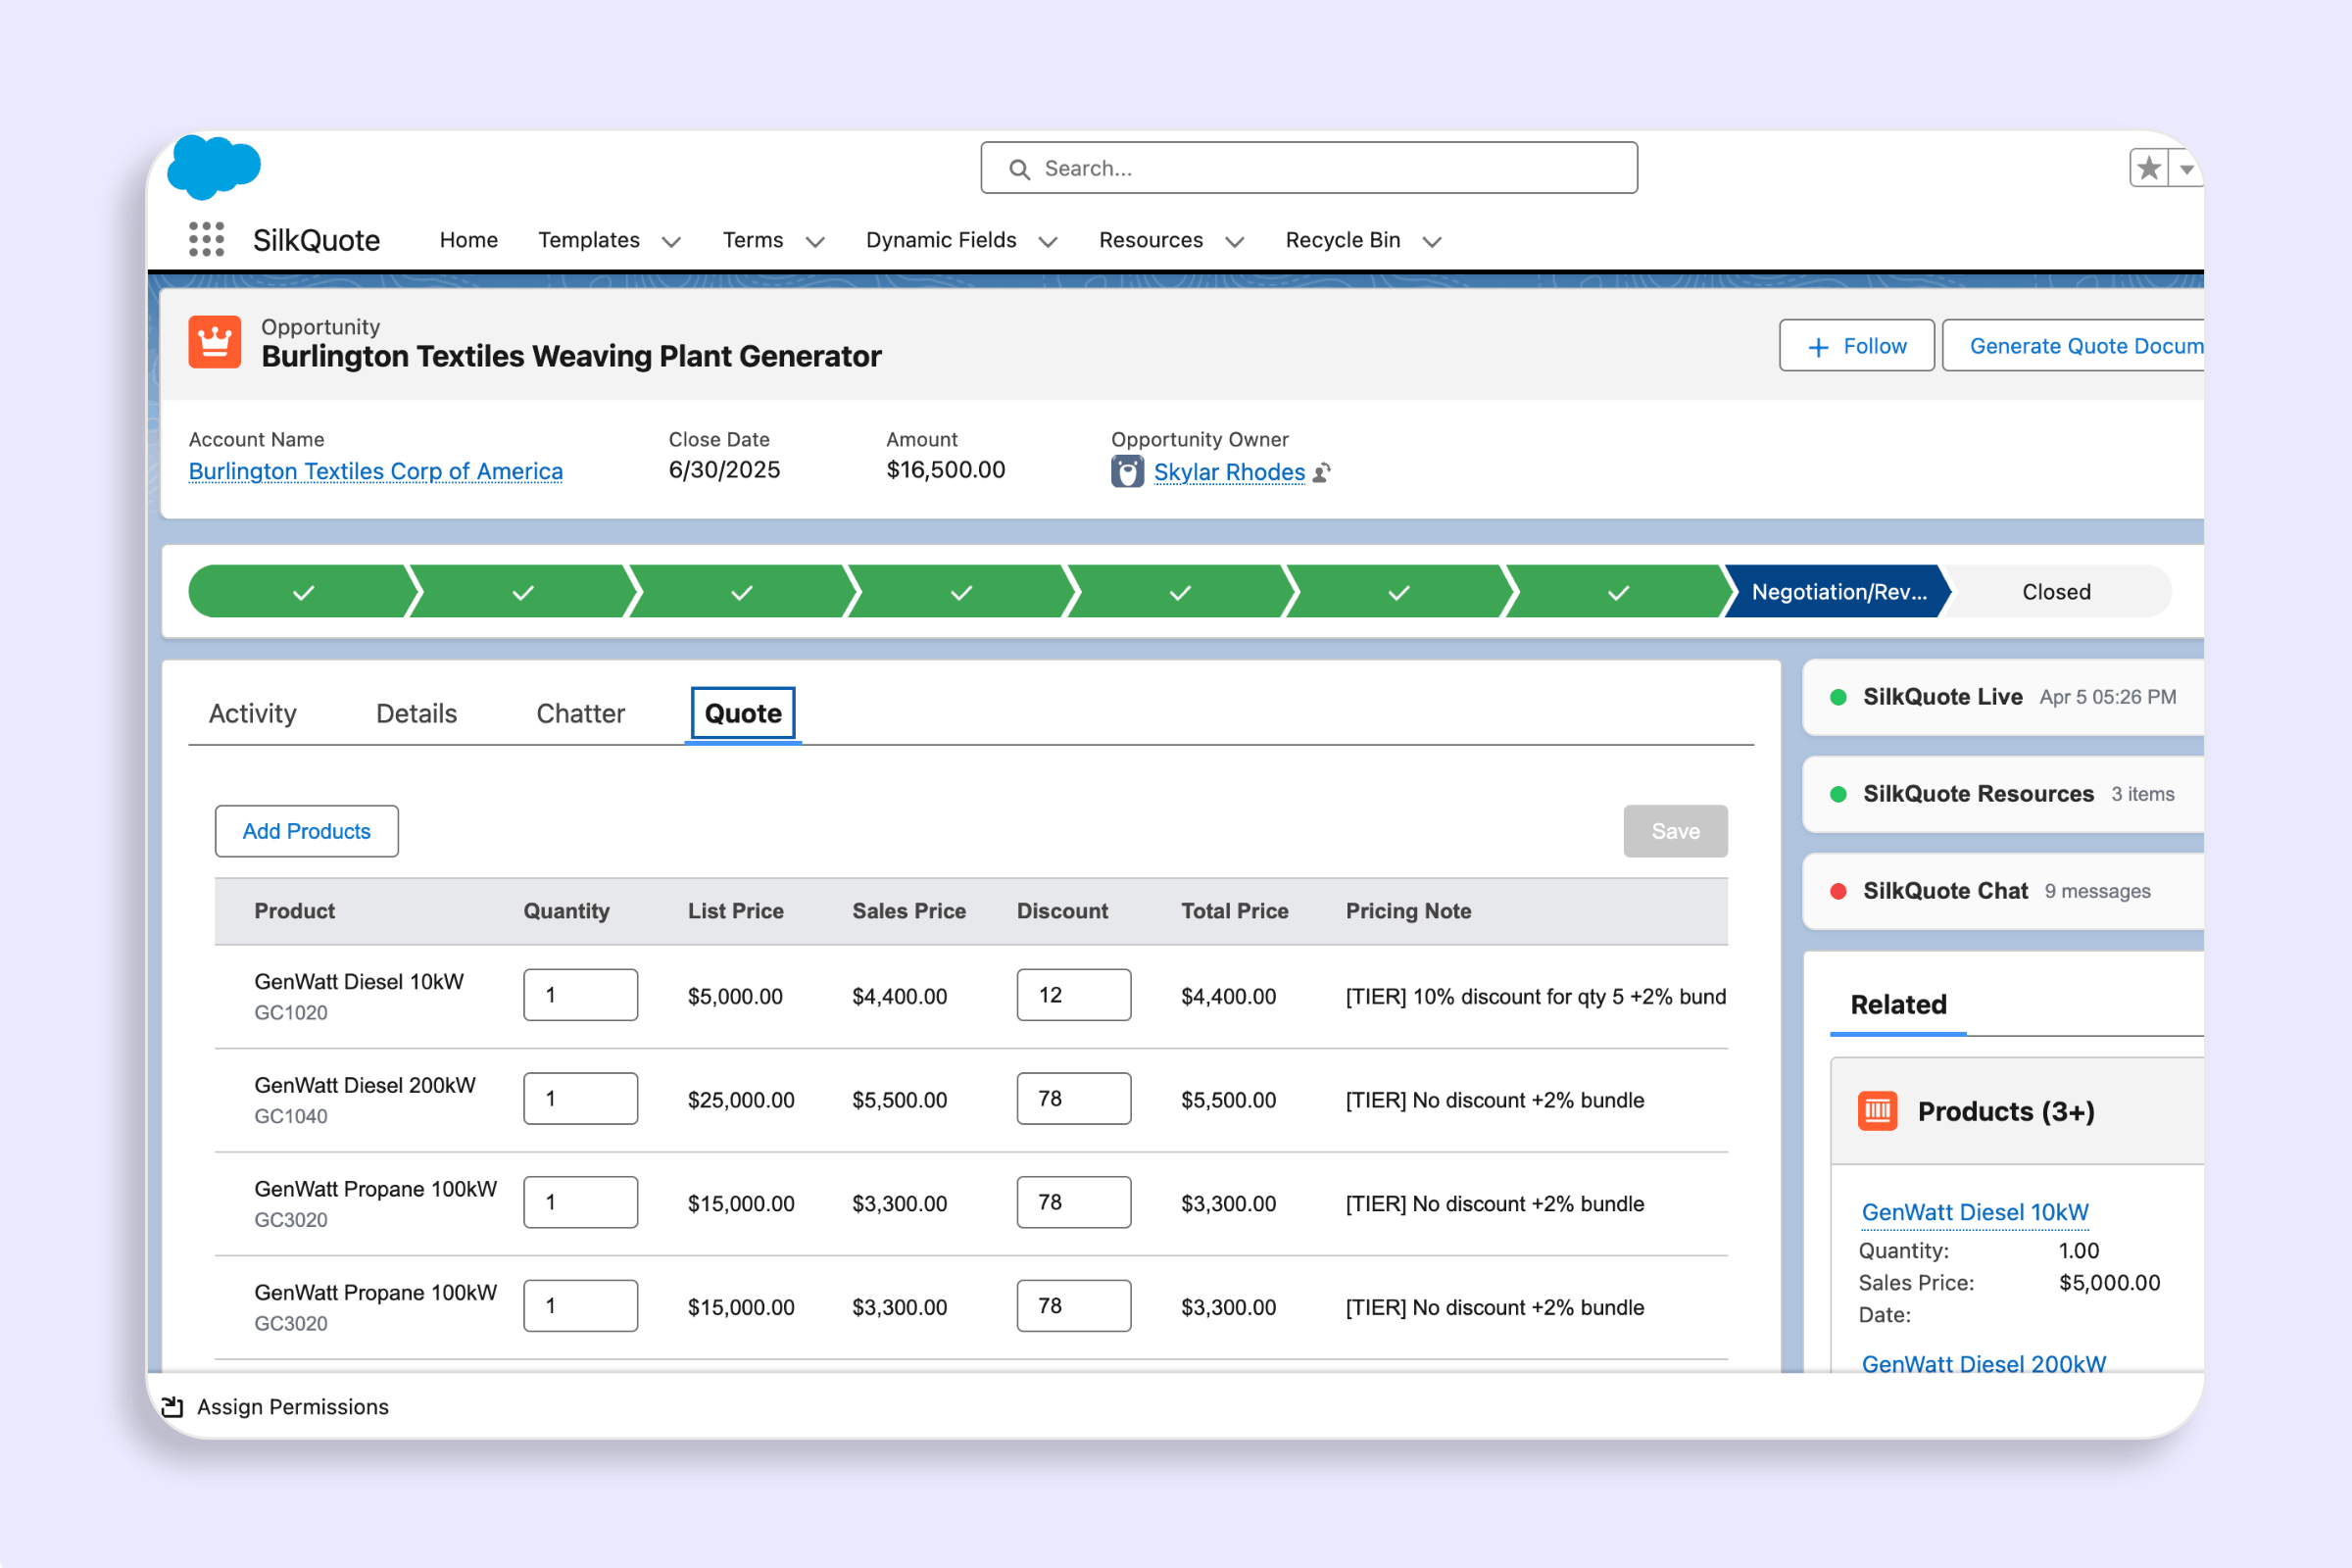
- Group By: An Opportunity Product field used to group line items into sections (e.g., “Product Family”). When set, products are automatically organized into labeled groups with subtotals.
- Order By: The field used to sort line items within each group (e.g., by product name or sort order).
Steps
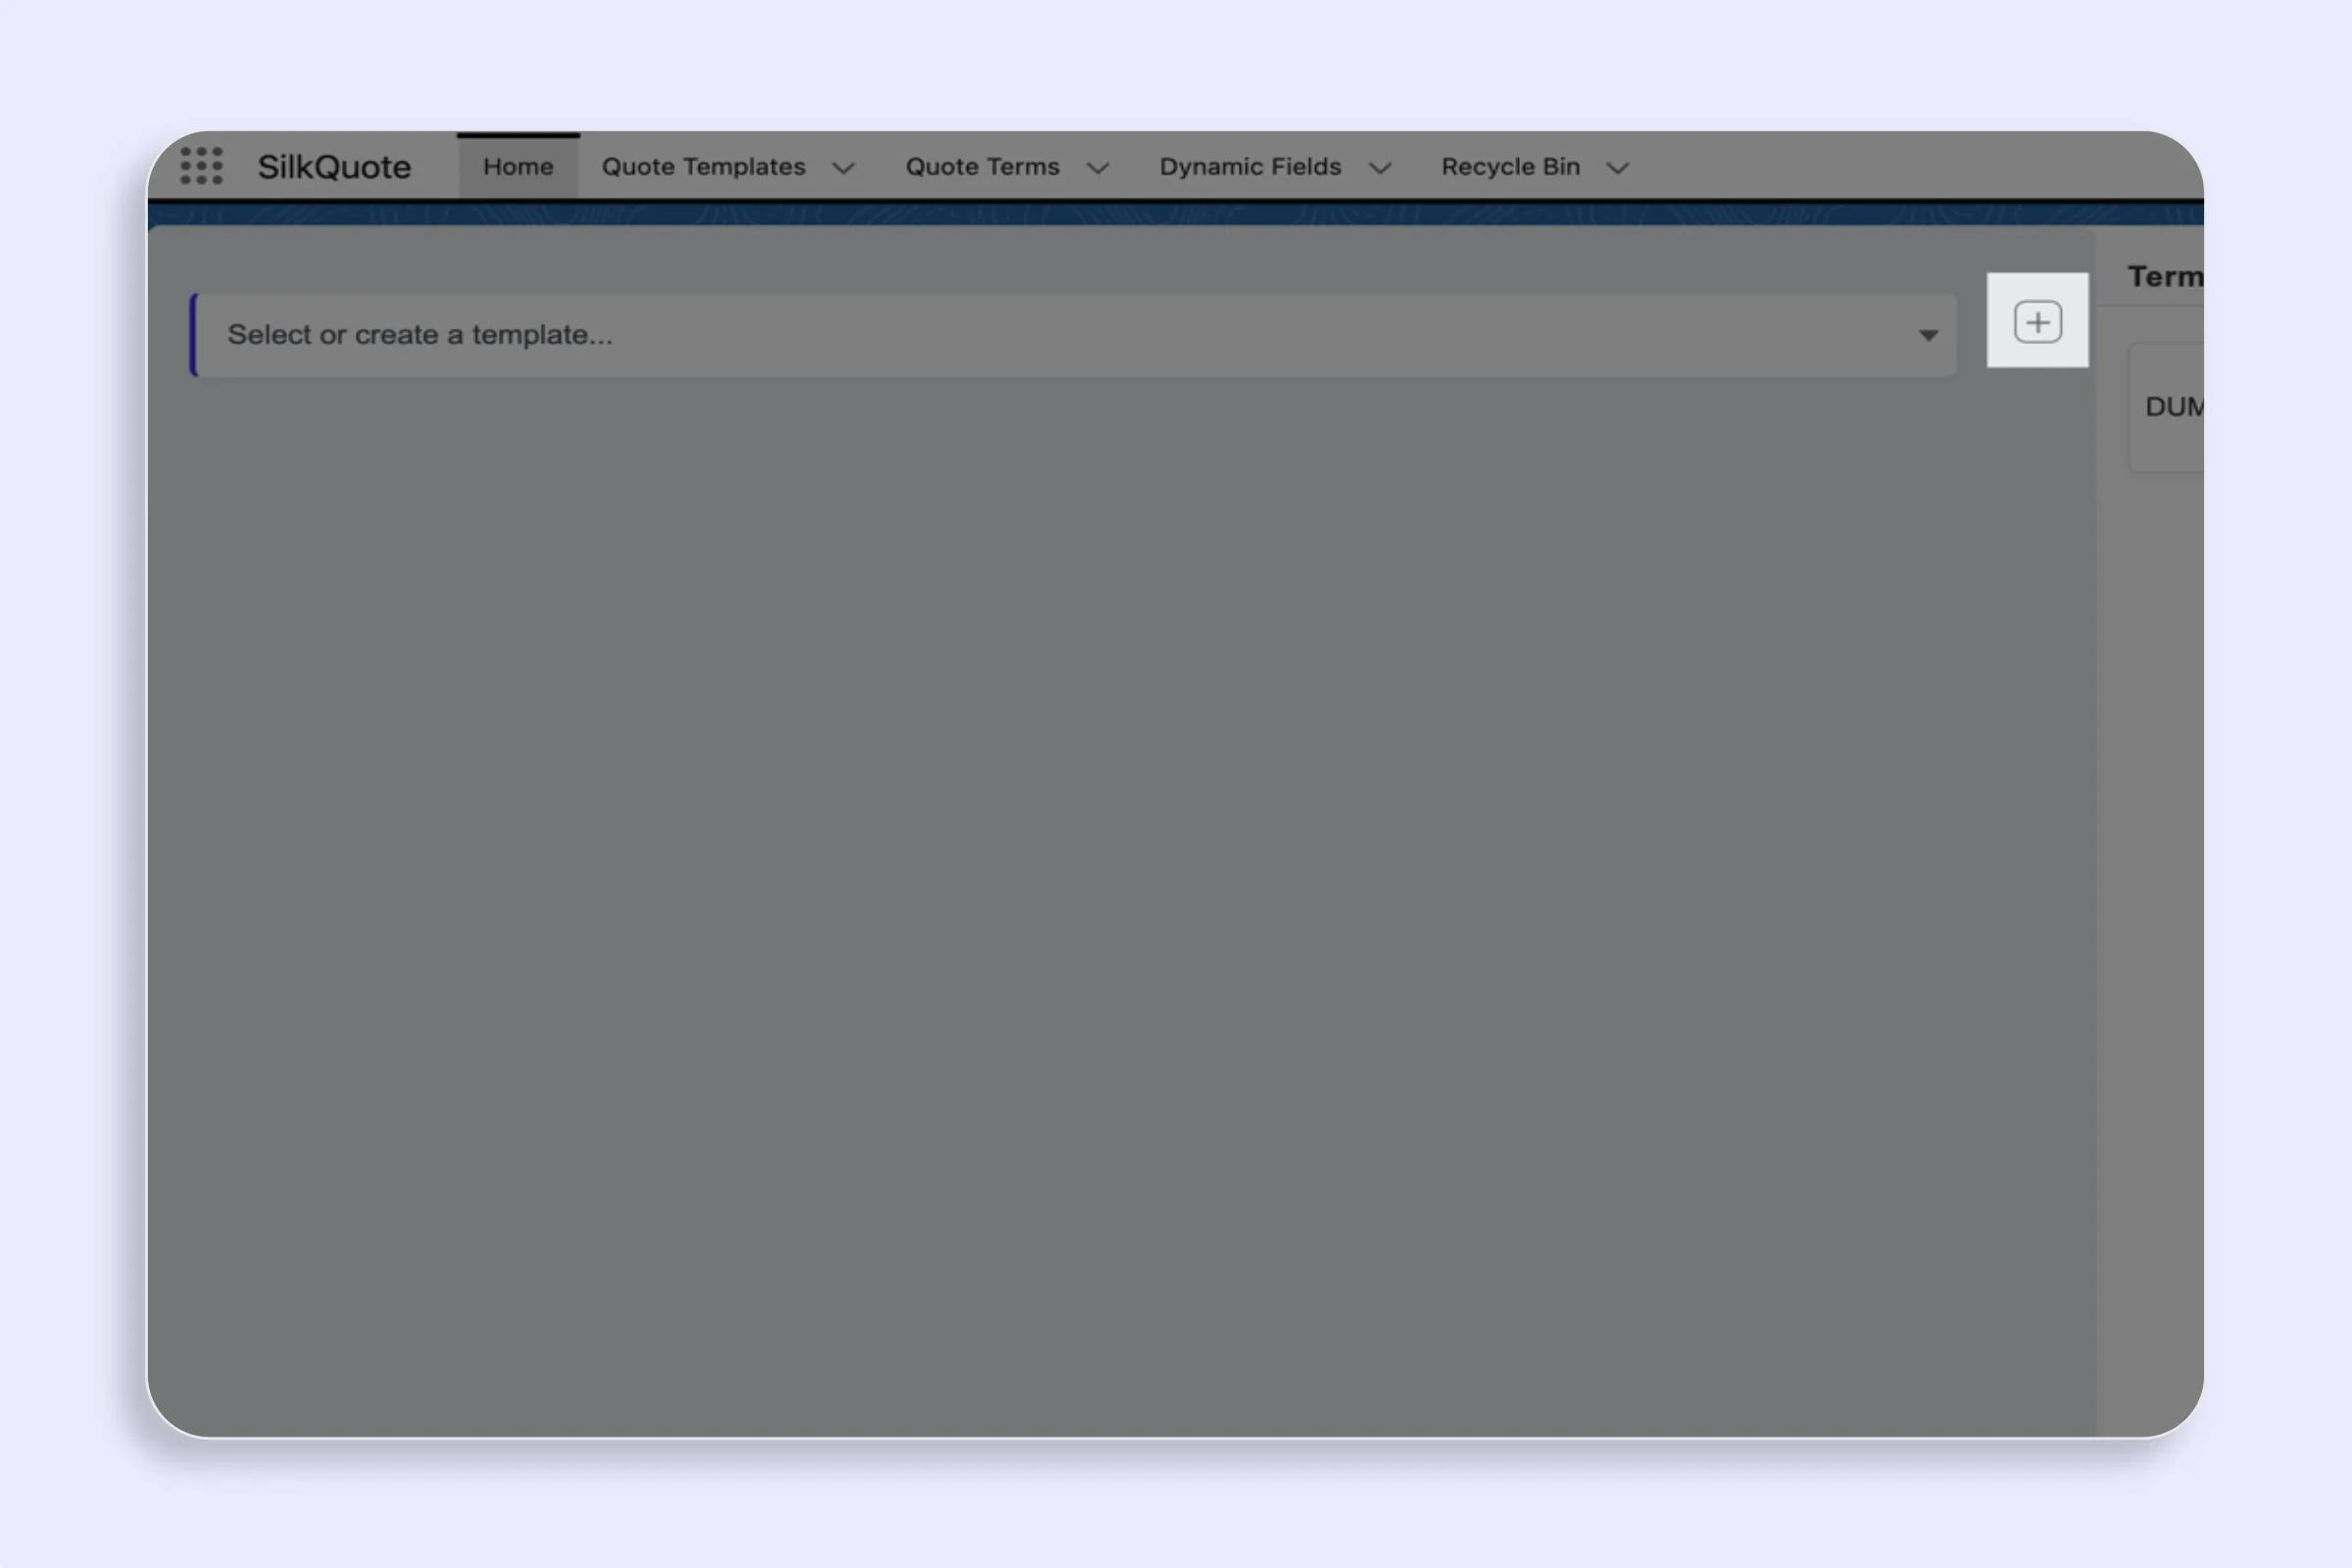
- Open the SilkQuote Configuration Manager from the Salesforce App Launcher.
- Click the + (New) icon next to the template selector dropdown.
- Enter a template Name.
- Set an Accent Color using the hex picker or enter a hex code directly.
- Optionally configure a Condition Field, Operator, and Value for auto-selection rules.
- Set Required if the template should be locked in when its condition matches.
- Set a Precedence value if you have multiple conditional templates (lower = higher priority).
- Optionally set Group By and Order By for line item organization.
- Click Save.
The new template appears in the template selector. You can now add sections and field mappings to define its content.
Next Steps After Creating a Template
A freshly created template has no sections or field mappings. The next step is configuring what appears in the quote:
- Add sections and fields: See Configure Template Sections & Fields
- Upload a logo: See Set or Change the Template Logo
- Preview with real data: See Preview a Template with Real Data
Tips
- Start simple: Create one general-purpose template first. Once it is working end-to-end, create specialized templates for specific deal types.
- Use clear names: Template names appear in the rep’s dropdown. Avoid internal codes or abbreviations that reps will not recognize.
- Use conditions thoughtfully: Auto-selection is powerful but can confuse reps if too many templates compete for the same Opportunity type. Start without conditions and add them once the template library is stable.